


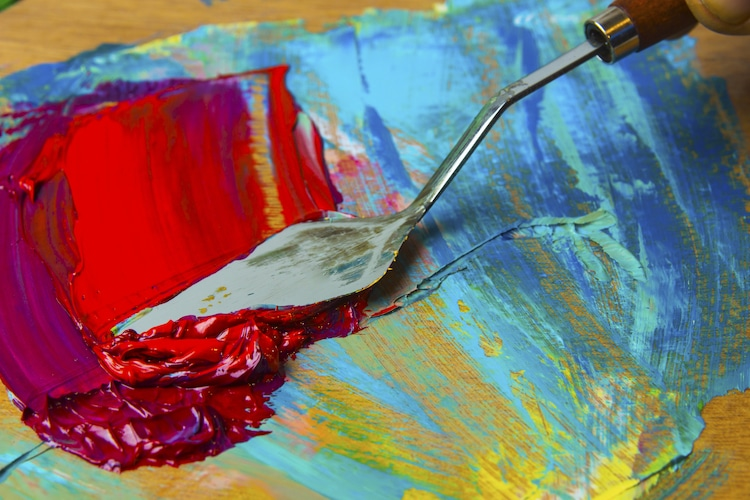
Cover Image Credit
Overview:
Paint blending is one of the most essential techniques to learn, especially when it comes to painting skies, backgrounds, and soft edges. So, if you’re looking to try your hand at some acrylic paint blending techniques, this is the perfect guide for you! We will show you how to blend two acrylic colours together to create a smooth gradient. Read on.
Before you start
You will need some essential art supplies before you start creating your next blended masterpieces (but not necessarily all of them). So, depending on what you would like to explore, here is a list of the basic supplies we used for our list of acrylic paint blending techniques:
- Acrylic paint brushes, a palette knife or sponges
- Paint palette
- Primed canvas, board, or painting paper
- Acrylic mediums (for creating a textured effect)
- Easel
8 acrylic paint blending techniques (for beginners)
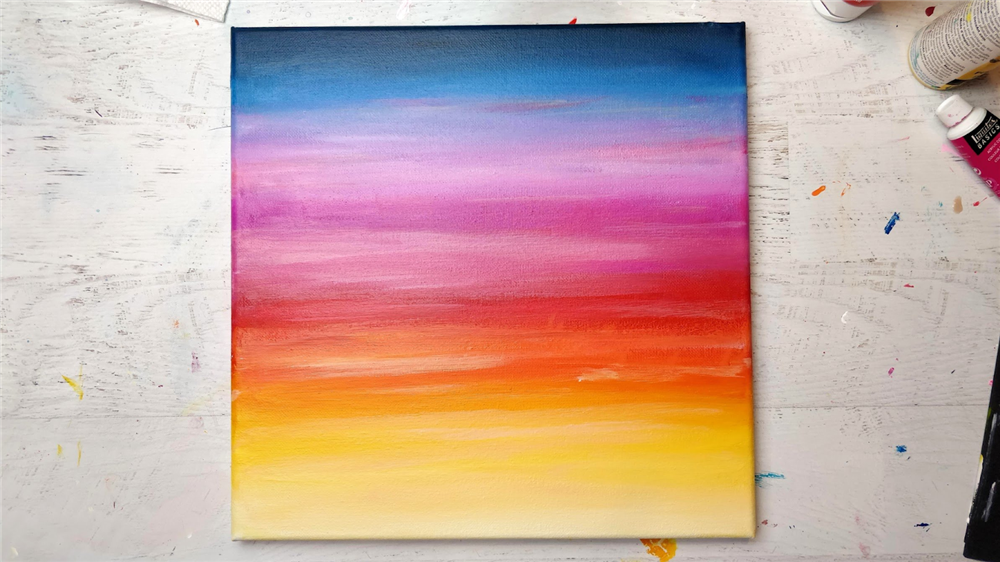
1. Wet-on-wet blending (horizontal)
-art-to-art.png) (Source)
(Source)
This is one of the most popular acrylic paint blending techniques because it's super easy to get the hang of! Wet-on-wet blending is the go-to technique for sunsets, skies, oceans, forest floors, and more. You can choose any colour you want to blend, however, we recommend using a popular colour combination so the colours are easier to blend.
How to do it:
- You will want to start with a blank canvas and a flat paint brush.
- Load up your paint brush with your first colour and paint strokes from left to right. Make sure the strokes are nice and even.
- Clean your brush and load it up with your next colour. Then, create strokes from left to right underneath your first colour.
- Gently blend the second colour up to the first and continue blending.
- You can add more colours and blend to create a gradient.
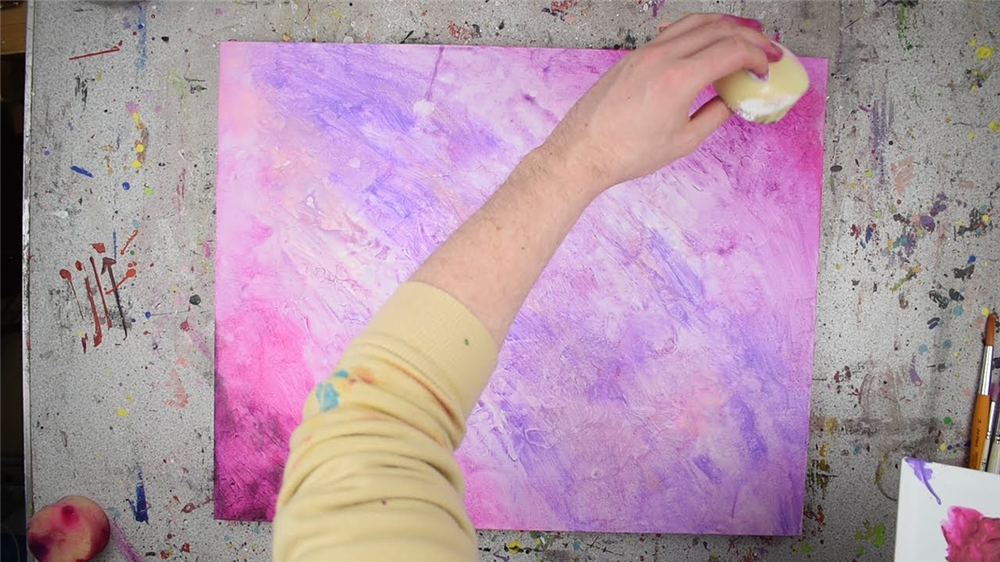
2. Wet-on-wet blending (circular)
-art-to-art.png) (Source)
(Source)
This is another technique using the wet-on-wet method, except it’s completed in a circular motion. Circular blending is also great for backgrounds and skies. For this, you will just be blending from the lightest to darkest colours in a circle. You can use any colours you like, however, you will want to pick colours going from lightest to darkest to achieve the right effect. This works best with white in the centre.
How to do it:
- Pick up your lightest colour and paint a medium-sized circle in the centre of your canvas.
- Grab a small amount of your next colour on your paint brush that already has paint on it and mix it outside the centre colour. This will create a lighter version of your second colour.
- Use more of the light colour to blend where the second and first colour transition to make a soft gradient.
- Add more of your second colour on the outer part of your circle and blend it into the other colours. You may need to work fast as acrylic paint has a fast drying time.
- Continue to add more of the second colour until you have covered your canvas.
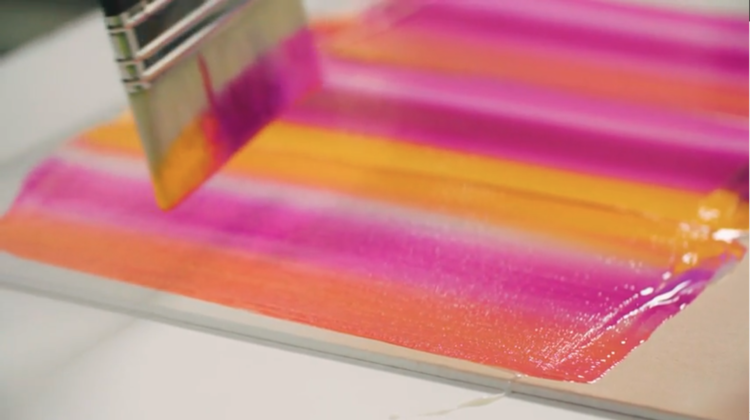
3. Acrylic glaze blending
 (Source)
If you're looking for a unique way to blend your acrylic paint, then a glazing art medium may be perfect for you. Acrylic glazing is also a great method for beginners as it slows down the drying process of your paint, giving you more time to create soft gradients.
How to do it:
- Pick the colours you want to use.
- Start by painting your canvas with one solid colour and let this dry.
- Mix your second colour with an acrylic glazing medium and apply it from the bottom of the canvas.
- Moving up the canvas, add more glazing liquid on your brush to make the second colour appear more transparent to slowly blend into the base colour.
- Feel free to add more layers of paint and keep adding glazing medium to create the blend. Just make sure you let your layers dry before adding more.
4. Double wet-on-wet blending

(Source)
The double wet-on-wet blending technique involves loading up your brush with two different colours to create a blended effect. This creates more of a two-toned area rather than a gradient. Double wet-on-wet blending is a great way to create an interesting abstract effect or a simple background. It’s also super easy for artists of all levels!
How to do it:
- Load your wash brush with your darkest colour and slightly dip your paint brush into your second colour. We recommend using a colour of your choice paired with white to make things easier!
- Create long strokes, painting up and down on your canvas. Blend your white with your first colour, but don’t blend it all the way.
- You don’t have to limit your painting to up and down strokes, you can also practise cross-hatching or x-strokes.
- Continue loading your brush with the first colour and tiny amount of white and slowly increase the flow of the paint.
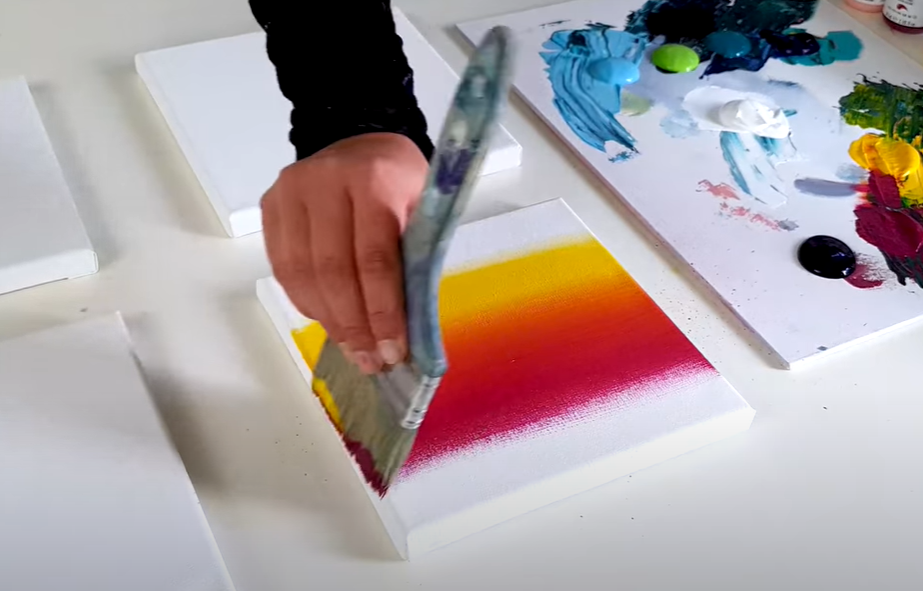
5. Wet-on-dry blending
 (Source)
The wet-on-dry paint blending technique uses wet paint mixed with dry paint. This is a great method for beginners and you won’t need to work quite as fast compared to the wet-on-wet techniques.
How to do it:
- Choose the colours you want to work with.
- Start by painting a base coat with your darkest colour and let this dry completely.
- Dip your brush into your lightest colour and paint on the bottom edge of your background.
- Use broad and long strokes to work your paint up the dried paint, without adding any more paint to your brush. This will slowly create a gradient.
- You can also add some water to your paintbrush to make the gradient blend seamlessly.
6. Blending with a sponge
 (Source)
If you’re looking for an easy alternative to a paint brush that covers a large surface area, then a sponge might be worth a try! Although you won’t get flowing lines like you would with a brush, it’s still a great way to achieve some stunning blending effects, plus it's fun!
How to do it:
- Choose your colours and place them onto a palette.
- Grab your sponge and dip it into some water or a slow dry medium to improve the flow of the paint.
- Dip your sponge into the first colour and swipe it onto your canvas.
- Add your second colour next to the first colour and use your sponge to create a smooth blend where the colours meet.
- Continue adding your colours and blend them together using your sponge.
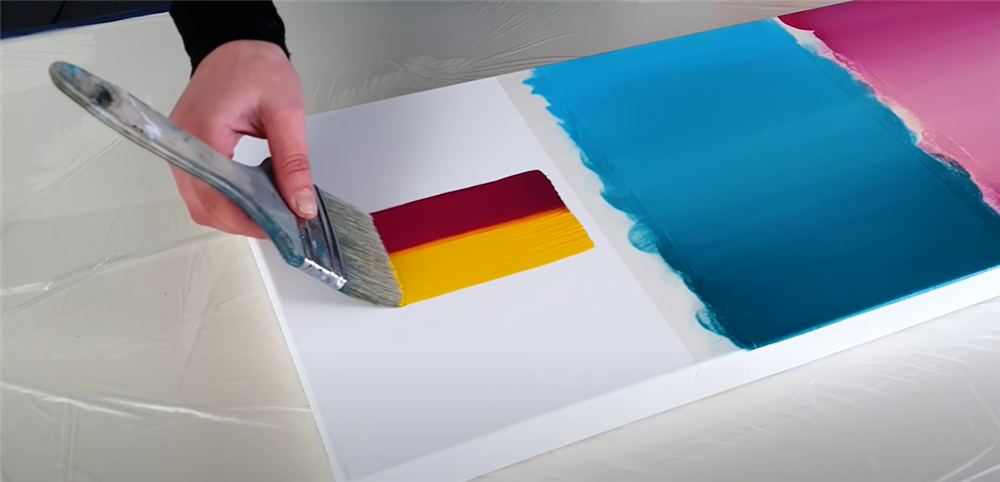
7. Blending with a palette knife
(Source)
This is a useful technique to learn if you’re interested in abstract-style art. Working with a palette knife is super easy and satisfying, however, you will be applying thicker amounts of paint, meaning your piece will take longer to dry. You can also create a range of different blended effects depending on how you choose to smear it and the amount of pressure you apply.
How to do it:
- Dip your palette knife into your first colour and begin dragging the paint from left to right.
- Grab some more paint on your palette knife and apply some of the paint underneath your first application. Work quickly, using long stroking motions to blend the paint where it meets.
- Apply more paint to your palette knife and continue blending.
- Another method is to add a dot of your first and second colour together and use your palette knife to blend them together using a stroking motion.
8. Half-half blending
 (Source)
Half-half blending is a creative, yet super easy way to blend two colours together. To master this technique just make sure you use a large flat brush as it will help you apply enough colour and blend it evenly.
How to do it:
- Load one half of your brush with your first colour and the second half with your other chosen colour.
- Using your brush, apply one broad brush stroke into the middle of your plain canvas.
- Next, continue moving the paint in long broad strokes to blend the colours together.
- Depending on how many colours you would like to add, you can apply some new colours and continue blending them into your gradient, or keep adding more of the same colours and keep blending until you reach the edge of the canvas.
Now that you’ve learnt how to blend acrylic paint, we hope you’ve gained some inspiration. The best part is anyone, from beginners to kids and professionals, can try these 8 acrylic paint blending techniques out! Don’t forget, you can get all your art supplies from Art to Art online or in-store. When you order over $100 online you will get free shipping. Plus, same-day dispatch when you order before 11 am!
More inspo & helpful resources
- Acrylic Painting Ideas
- Acrylic Painting Techniques
- Acrylic Paint Pouring Ideas