Clay is one of the most popular mediums for modelling and sculpting projects used by beginners and professionals. Artists love its ease of use, wide range of applications and the endless creative possibilities. Air dry clay and polymer clay are the two most commonly used clays amongst artists. But what are the different types of clay and which one should you choose? Read on to learn more about air dry clay vs polymer clay and the benefits of each.
Overview:
- Air dry clay
- What is air dry clay?
- How to use air dry clay
- Pros and cons of air dry clay
- Polymer clay
- What is polymer clay?
- How to use polymer clay
- Pros and cons of polymer clay
- FAQs
Air dry clay
What is air dry clay?
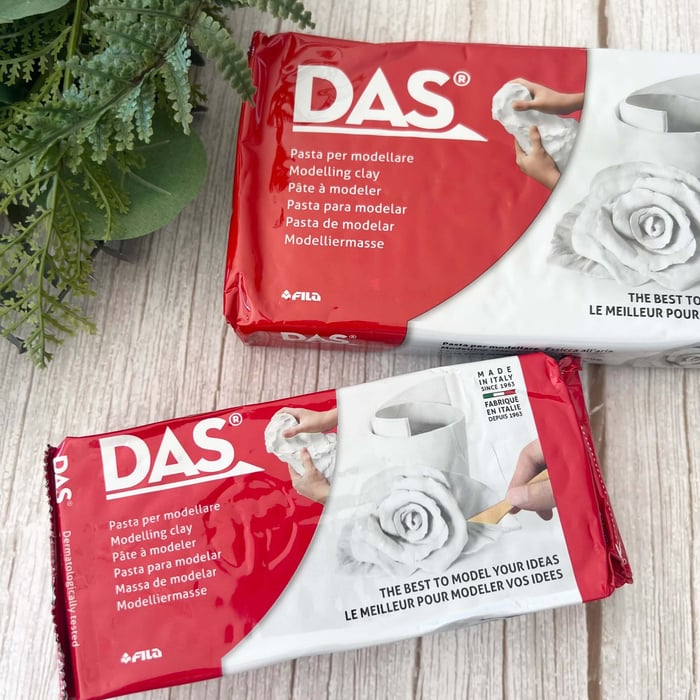
Air dry clay is a type of clay that dries in the air. As the name suggests, this clay doesn’t require any heating or baking; simply leave it in a room temperature area and it will dry. Depending on the thickness of your model, it will typically take around 1 to 3 days to dry.
Air dry clay comes in limited colours, including white, grey and terracotta, which is perfect for painting afterwards. It features a soft texture that can easily be shaped and manipulated with different techniques. Shop Das Air Dry Clay
How to use air dry clay
There are a number of different ways you can use air dry clay, however, for most projects you can start by:
- Preparing your workspace
Before you begin moulding your clay, you should always work with a clean workspace. Clay can be messy, so we recommend using a crafting mat or baking paper to avoid it sticking to the table.
- Gathering your tools
Make sure you have all the necessary clay tools and equipment to complete your project. There are a variety of modelling clay supplies available, some of the best to have on hand include:
- Modelling tool
- Cutting tool
- Angled tool
- Needle tool
- Curved tool
- Rolling pin
- Baking paper
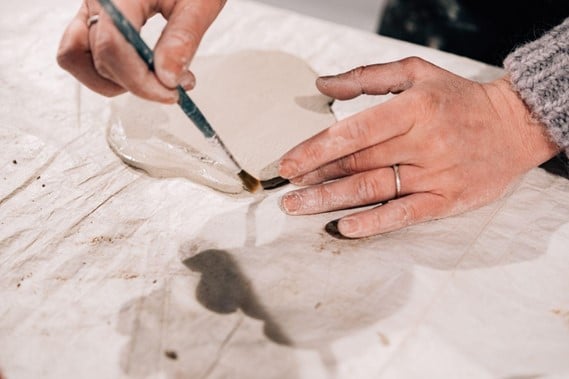
- Condition the clay
Instead of taking your clay straight out of the packet and shaping it into your desired model, you should always condition the clay first. This involves kneading the clay, so it's easier to work with.
- Roll out the clay
In order to shape your clay, you will need to roll it out. Try to avoid rolling it out too thin as this can cause cracking. We recommend a half an inch thickness.
- Smoothing the clay
Whilst working, you should keep a small pot of water nearby to smooth the clay whenever cracks appear. This is called slip and will help to smooth out any cracks and make the moulding process easier.
- Joining pieces together
If you’re joining pieces together you will need to score the clay. To do this, you will need to make small cross marks using a clay tool combined with a small amount of slip to join the areas together.
- Drying your model
Once you have completed your clay model you will need to leave it in a room temperature area to dry. Avoid leaving it anywhere that gets damp or is too dry, as cracks can form. This could take anywhere from a day to 3 days to dry.
- Painting or sealing your model
When your clay has dried, now is the perfect time to decorate it! You can add a pop of colour using acrylic paint and finally seal with an acrylic varnish.
What can you make with air dry clay?
Air dry clay is very versatile, that’s why this is such a popular choice amongst artists. Some project ideas include:
- Plant pots
- Animal sculptures
- Wall decorations
- Candle holders
- Gift tags
Pros and cons of air dry clay
Pros | Cons |
Easy to use | Drying times can be long |
Affordable | Not naturally waterproof |
Non-toxic | Not food-safe |
Suitable for all artists | Can crack easily |
Great for a variety of crafts | Must be sealed |
Polymer clay
What is polymer clay?
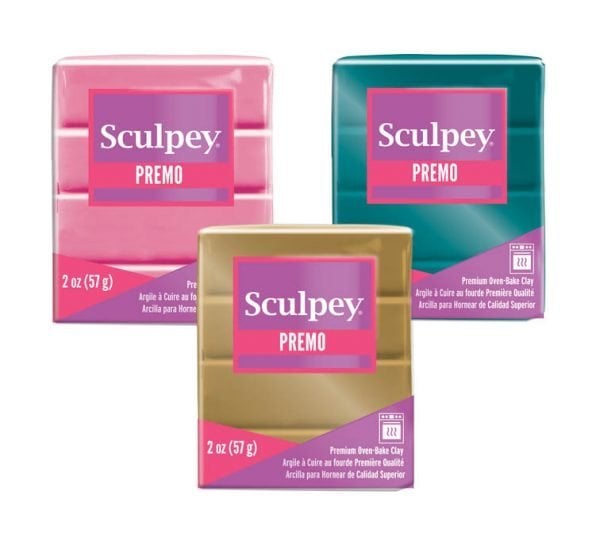
Polymer clay is a type of modelling clay that hardens once baked. It is a popular choice as it’s available in a range of vibrant colours and is very easy to work with. Polymer clay won't dry out whilst working, it will always remain a soft texture at room temperature. Shop Sculpey Premo
How to use polymer clay
Just like air dry clay, the process will change depending on your project. But most clay crafts will typically involve:
- Preparing your workspace
The first step is to set up your crafting area. You will need a clean and smooth surface to work on, such as a crafting mat, baking paper, kitchen bench or a glass surface.
Polymer tends to collect small particles, so ensure your workspace is clean for the best result.
- Using the correct tools
To get the most out of your polymer clay, we recommend using clay tools for any techniques. Some common tools you can use include:
- Modelling tool
- Cutting tool
- Angled tool
- Needle tool
- Curved tool
- Rolling pin
- Baking paper
- Conditioning and rolling out your clay
Before you can start modelling, you will need to knead the clay for a smoother texture and then you can begin rolling out the clay to your desired thickness.
- Creating your model
Now it’s time for the fun part - crafting your model! You can use your hands in combination with modelling tools to shape your project and create different details. Polymer clay will easily stick together, meaning no scoring or slip is required!
- Baking your piece
Before baking, make sure you read the instructions carefully to get the best results. Baking can take anywhere from 15 to 30 minutes, depending on the thickness of your model. We also advise against heating your piece in the microwave, as it can result in burnt and uneven surfaces.
What can you make with polymer clay?
Polymer clay is widely used for a range of home decor projects. Some of the most popular uses for polymer clay include:
- Earrings
- Jewellery holders
- Key ring decorations
- Magnets
- Plant pots
Pros and cons of polymer clay
Pros | Cons |
The shape is permanent once baking | Must be careful to not overbake |
Is waterproof once baked | Can stain and damage surfaces |
Remains soft in room temperature | Picks up dust and particles easily |
Durable | Can break easily |
Great for small scale models and details | Should be sealed |
Art to Art is your one-stop shop for art supplies
Now that you know the difference between polymer clay and air dry clay, you may be feeling inspired to create your next masterpiece. Luckily, Art to Art is your one-stop shop for art supplies! We stock everything from drawing supplies and artist paints to art paper, art mediums and more. When you purchase supplies from Art to Art, you get fast same-day dispatch Australia-wide. Plus, you can buy now and pay later with Afterpay. If you have any questions, please do not hesitate to contact us online.
Air dry clay vs polymer clay: FAQs
Is polymer clay softer than air dry clay?
Whilst modelling, polymer clay will always remain a soft texture in room temperature. Whereas air dry clay will begin to harden once exposed to air, which is why artists like to use slip to keep the clay soft and prevent any cracks. Once dry, polymer clay is generally sturdier than air dry clay.
What clay is best for beginners?
Polymer clay is the ideal choice for beginners as the texture makes it easier to work with for as long as you need. Just make sure you read the baking instructions correctly.
Can polymer clay be air dried?
Polymer clay will not dry in the air, it needs to be baked according to the directions on the packet.