So, you have finished your masterpiece, now what?
Maybe your painting has a somewhat inconsistent sheen across its surface, or maybe you want to protect the work for the historians looking over it in a thousand years.
Either way, varnishing your work is a good idea. With so many varnishes out there, what is the best one to use? My name is Josh and as an oil painter myself, I find the best varnish on the market is Gamvar by Gamblin. Read on to find out more!
Overview:
- What is Gamvar varnish?
- What is Gamvar made of?
- How do I use Gamvar effectively
- Gamvar vs other brands.
- FAQS / Troubleshooting
What is Gamvar Varnish?
Gamvar is a varnish produced by Gamblin. It is a mineral based varnish which can be used for both oil and acrylic paintings. Gamvar is relatively odourless and non-abrasive for a solvent based product. What sets Gamvar apart from other products is its ability to be applied to oil paintings which are touch dry. Most other varnishes require 6-12 months for the layers of oil paint to have cured completely before being applied. Gamvar’s unique formula allows the paint to breath, permitting oxygen to seep through the varnish layer, creating a condition where the paint layers can continue to cure underneath the varnish.
What is Gamvar made of?
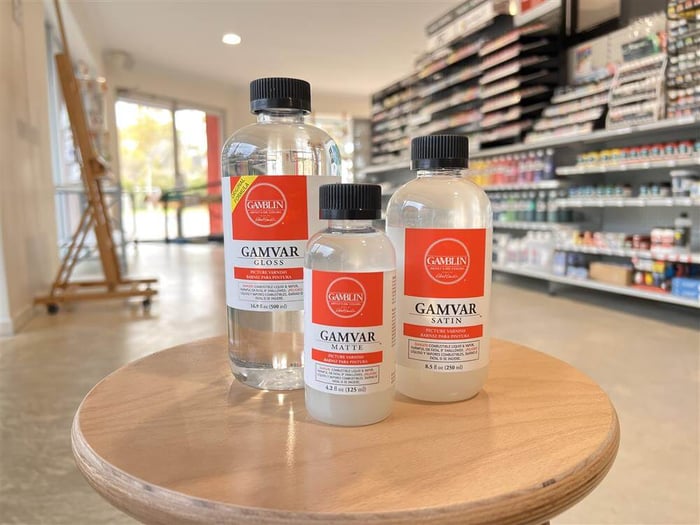
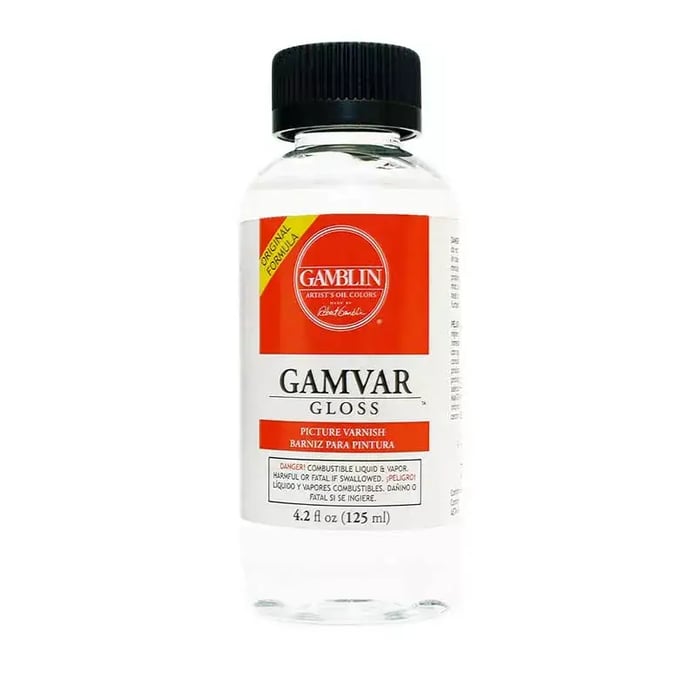
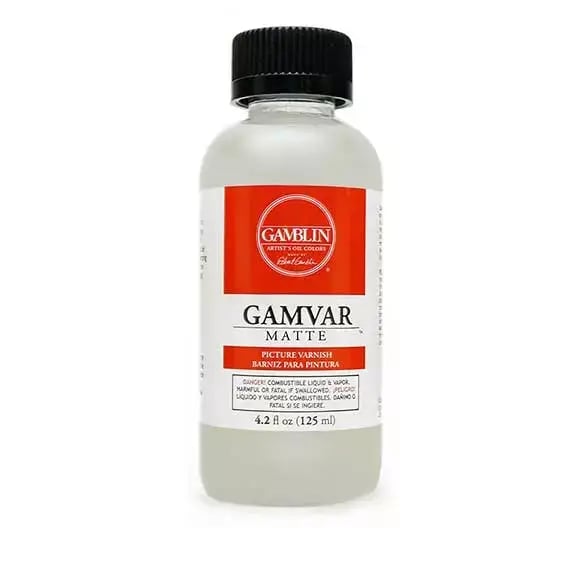
Gamvar is made of “Gamsol”, Gamblin’s Odourless Mineral Spirits and Hydrocarbon Resin, with the inclusion of beeswax for varying the sheen level. The Gamvar range includes a Matte, Satin, and Gloss. The gloss contains no wax, the matte contains a considerable amount of wax and satin sits somewhere in the middle.

How do I use Gamvar effectively?
The correct application of varnish is strongly contended amongst artists - everyone seems to have their own way of doing it! I’ll confess, I have made my fair share of mistakes over the years, but this is all part of the learning process. With that said, I still get unreasonably frustrated seeing people applying varnish wrong. One thing I see far too often, especially on Instagram or Tik Tok, is where artists pour the varnish straight from the bottle and onto their painting before brushing it over the rest of the surface. This is a great way to get a super inconsistent, sticky mess of a varnish job. I get it, its satisfying to watch, and all your followers will rush to drop drooling emojis in your comments, but you know what’s more satisfying? Not destroying your precious hard work.
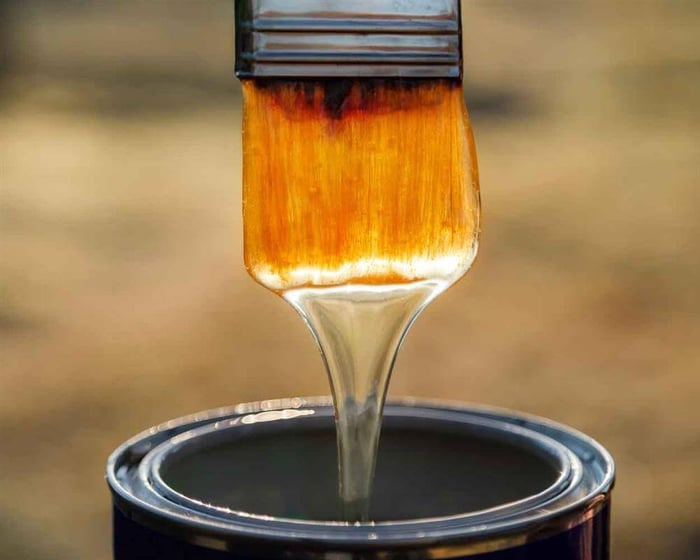
Your varnish needs to be applied thinly and evenly across your painting, and pouring the varnish straight from the bottle makes this hard. Applying varnish too thickly will hinder the drying process and result in an uneven surface with glossy areas that are also super sticky. No one wants that. It is not the end of the world if it does happen though, just let it dry for a couple of days, remove it, and then try again. And promise yourself never to take advice from someone who pours varnish straight onto their canvas ever again.
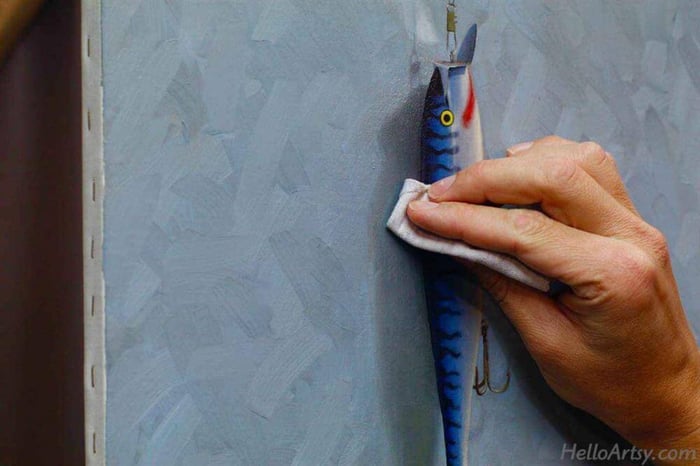
One thing you should make sure to do before applying any varnish, is to wipe over the surface of the painting and make sure you remove any dust or debris. It’s often hard to avoid the odd hair or two in your varnish layer, but whatever you can do to prevent it is going to be a good idea. With that out the way, let’s talk about the proper varnishing technique recommended by the manufacturer, Gamblin.
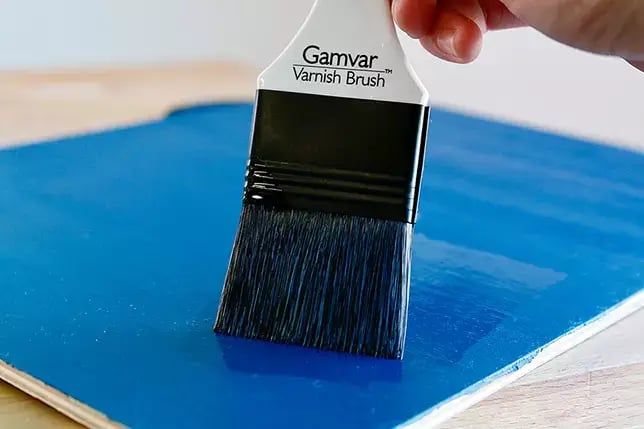
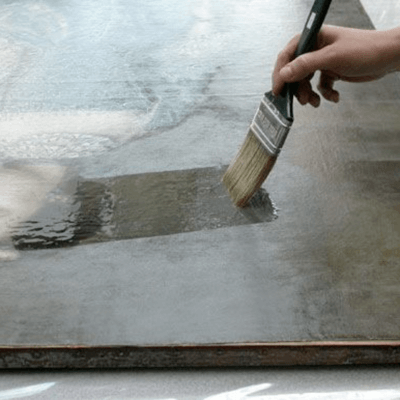
Gamblin suggests that it’s best to apply as little varnish to as much of the surface as possible. Working in this way assures a thin and even coat across the whole surface of the work. You can achieve this by using a brush which is on the somewhat stiffer side. Something softer than hog bristle but stiffer than standard taklon is a perfect choice. A brush that is too soft will apply the varnish too thickly and will result in yet another tacky, inconsistent mess.
To begin the process, pour some varnish into a small, shallow bowl, and load the brush with a small amount of varnish. After this, you will want to scrape your brush on the side of the bowl, or even consider having a cotton rag or paper towel available to remove the excess varnish from the brush. Try to keep with the rule of making as little varnish spread as far as possible. Remember, the name of the game is a thin coat of varnish. If any beading should occur, that could be a sign that you are using too much varnish.

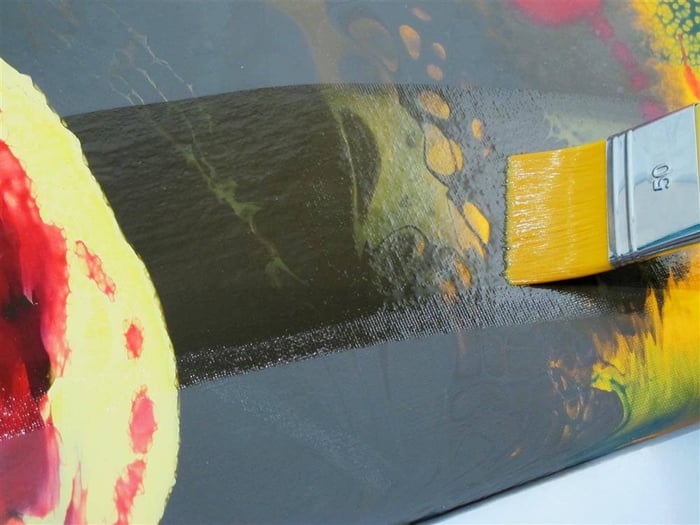
Once the brush is loaded, you’ll want to use a gentle scumbling, or scrubbing motion on the surface of the painting. Being careful not to scrub too hard because the varnish, containing solvent will begin to eat into the paint layer if you work it too hard. Once the surface is completely coated in a thin layer of varnish, without adding any additional varnish to the brush, you may want to lightly feather the brush back and forth to even out the varnish across the whole surface of the painting.
The varnish will take roughly 24 hours to dry but that can vary, depending on the temperature and humidity. While its drying, place the work somewhere that will minimise its exposure to dust and debris, although and I’m sorry to say this, but it is very hard (if not impossible) to have zero dust in your varnish layer. Try your best but don’t expect perfection. If the varnish is still somewhat tacky, it needs a little more time to dry but if it was applied using the technique as described above, you should have no problem with the varnish drying as expected.
Gambin recommends applying only one layer of varnish, especially of either the matte or satin as adding multiple layers causes issues. Multiple layers of Gamvar in Satin or Matte can cause cloudy areas in the varnish where the mattifying agents have reactivated and mixed with the newly applied layer. A second, equally thin layer of Gamvar in gloss, however, is less problematic.
Gamvar vs other brands.
Many manufacturers will use similar materials as Gamvar to produce a varnish, which generally contain a resin dissolved in a solvent. Not all solvents are the same and not all resins are the same. Some solvents are more erosive than others, meaning they can dissolve harder resins, resulting in a harder varnish. The thing that sets Gamblin’s Gamvar apart from its competitors, is that the solvent and resin they’ve used is both and hard, yet still allows the paint to oxidise below the varnish layer. This means you won’t get any cracking usually found from varnishing oils too soon. Other varnishes are comprised of different components which do not have this quality. Gamvar has a unique formula and as mentioned above, is one of the only varnishes that will allow the painting to continue to dry underneath the varnish, whereas many other brands will inhibit the curing of the paint layer once the varnish has been applied, resulting in cracking. Because of this, most other brands require the paintings to fully oxidise before they can be applied, which could take 6 -12 months. And who wants that?
Varnishing can be a source of great frustration, but it doesn’t need to be. Learn from my oh so many failures and turn varnishing into your favourite part of the painting process. When you’ve spent countless hours on a piece of work, you want to give it the protection it needs to stand the test of time. At the end of the day, any varnish is better than no varnish but if you ask me, Gamvar is going to solve all your problems, and if applied correctly, it can be a simple and straight forward process that gives you constant and repeatable results.
FAQS / Troubleshooting
How do I clean my brush with after using Gamvar?
Due to the nature of the varnish, Gamvar can easily be dissolve with the use of Gamsol, or most other mineral spirits. In addition to this, and you’ll have to bear with me here, you can set aside a brush specifically for varnish and after wiping as much as you can out of the brush you can literally set it aside and let the residue dry in the brush. Which may sound strange, but the next time you are ready to varnish, simply allow the brush to sit in the varnish for 10-15 mins to allow the dried varnish to dissolve then continue as normal.
Alternately, if you are looking for a solvent free option, you could just use any high-quality brush cleaner. Massage the brush cleaner into the bristles and then rinse off brush in water.
What if I still have ‘sunken’ areas on my painting after I’ve applied the varnish?
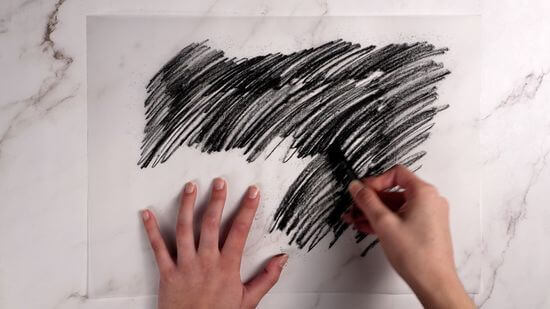
What does it mean when we say paint is “sunken” or “sinking in”? The characteristics of “sunken” paint is where paint has lost its saturation during the drying process, leaving it dull. This occurs can occur for a few different reasons. One reason is that different pigments absorb the oil binder at different rates, and some oil colours, like blacks or umbers, are more prone to sinking in and appearing dull or chalky. Another reason is the absorbency of your surface. A surface that is ill prepared or too absorbent will pull too much of the oil binder out of the paint film, it will ‘sink’ and your paint will lose its saturation as it dries.
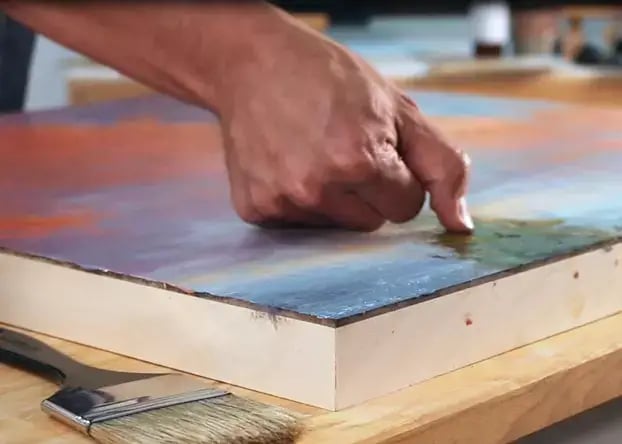
Apply varnish over a painting with dramatic inconsistences or obvious sunken areas will not necessarily unify the surface. Often it will result in a finish that still reflects some of the inconsistences. The best way to remedy this is to “Oil Out”. This is where you apply a thin layer of oil medium over the surface, allowing that to dry completely before continuing to a final varnish layer. Doing this will coat the painting in a thin layer of oil which will then absorbed by any sunken paint areas, reducing, if not completely removing all inconsistencies.
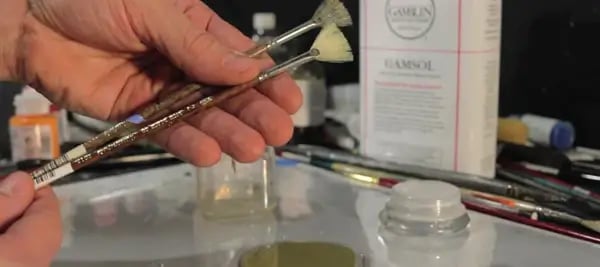
This layer of oil for oiling out, as Gamblin recommends, should be comprised of a medium containing a 50/50 mix of Gamsol and another product of theirs called Galkyd, which is a general painting medium. Doing this will also have the added benefit of working as an isolation coat for further protection for the painting layers should you need to remove the varnish at any point.
Do I have to varnish my painting? What happens if I don’t?
The pros far out weight the cons when it comes to varnishing a painting. You may not want to, and that’s fine but you’re opening yourself up to several potential issues. For one, an unvarnished painting is vulnerable to damage on the actual paint layer. If there is anything spilled on the work, or it gets some minor scratches, or even if it gets dusty, it will be somewhat risky to remove and may mean you have re-paint sections of the work if the paint layer gets damaged in the process. The maintenance of an unvarnished work can be trickier too because wiping at the surface of the work could risk damaging the layers of paint.
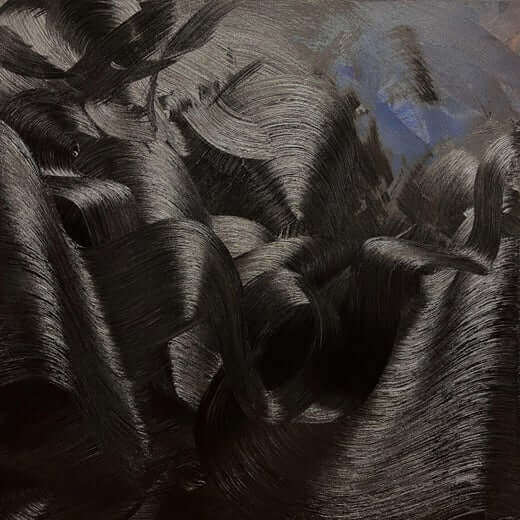
What’s the pros and cons to using gloss, satin or matte?
Deciding which sheen best suits your work is subjective and going to up to your personal preference but are certainly some factors to consider with sheens which may help you make your decision. Gloss is generally the most popular choice; it creates the greatest saturation of colours and most contrast amongst tone. However, especially on darker paintings, gloss can impart a reflective surface, meaning your work will be prone to having a harsh glare under certain light and imperfections can be more visible. A matte varnish can be a great option for those working on flat, graphic work, or those painting using a narrow tonal range as the lack of glare from the sheen will make photographing a matte varnished painting far easier. The reduced saturation of a matte surface can be a barrier for those wanting to exhibit bright colours or high contrast aspects of their work. Satin on the other hand, is the best of both worlds. It’s great for splitting the difference between gloss and matte, negating the dulling of colours from matte but also reducing the harshness of glare from gloss. Alternately, they can all be mixed, i.e., you can add a little more gloss to the satin the make things slightly glossier or add matte the satin to make it a bit more matte. Its completely up to you.